Skip to main contentSkip to navigationSkip to footer

Custom Design

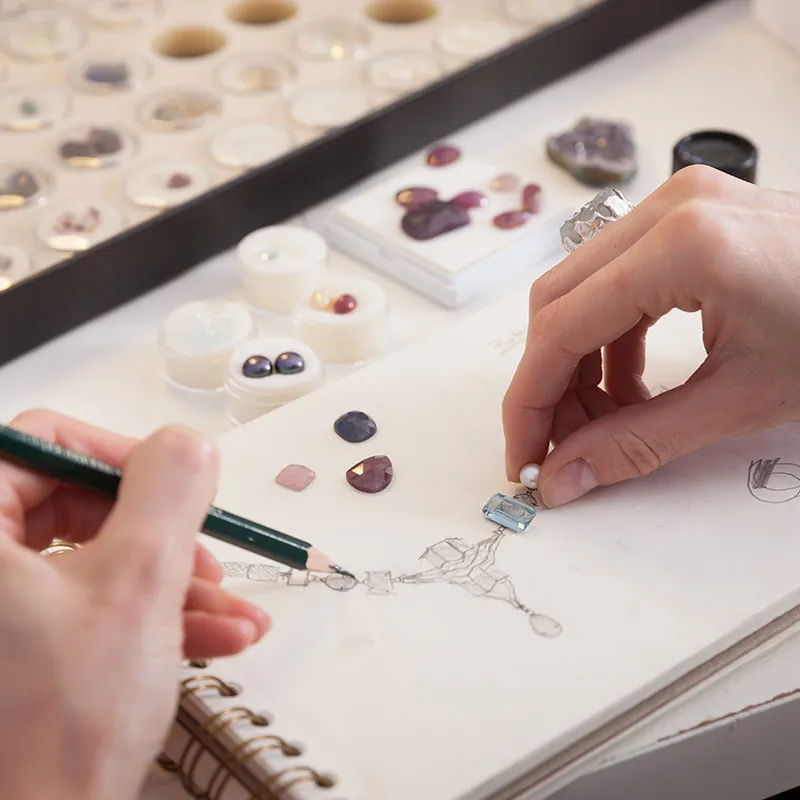
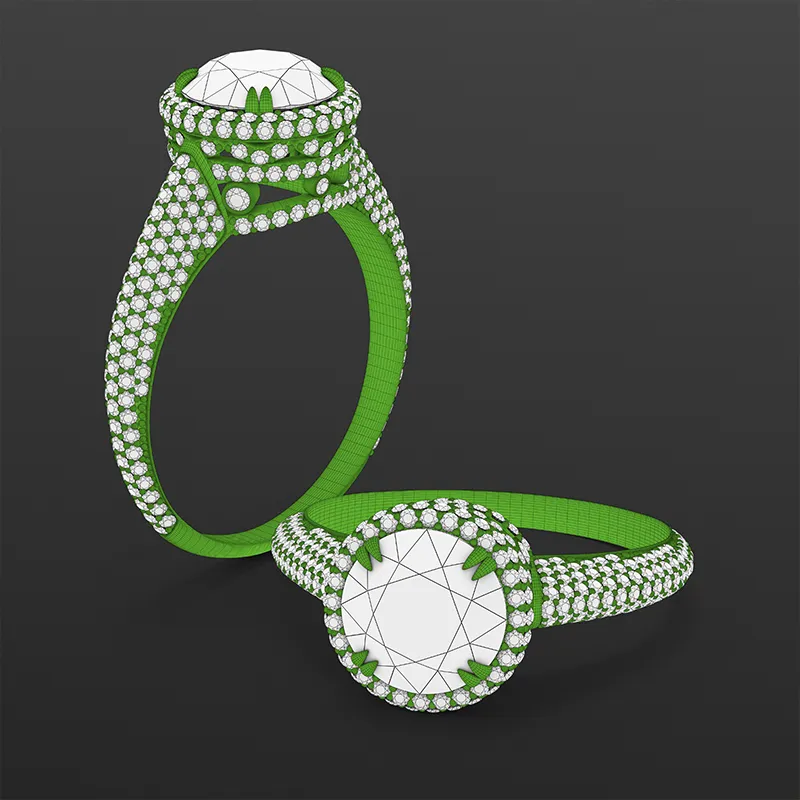
Step 1Dream & Design

The first step in the custom design process is stopping by the store to consult with one of our design specialists. Bring a picture, a drawing, or a mental description of what you have in mind. If you have jewelry that you no longer wear, bring it in as well so that we can brainstorm ways of utilizing it in your new unique piece of jewelry.

Start a Project

Step 2 Create a Virtual Design

Once we have an idea of what you’re looking for, we will start the process of turning your idea into a 3-Dimensional virtual image of the piece of jewelry. We use one of the industries best CAD softwares to create a photo-realistic image of what the piece of jewelry will look like when it’s done.

Step 3 Create a Wax Model

Once you’ve approved the design on screen, we move on to the wax stage. Using a top-of-the-line 3-D printer, we turn your digital design into a physical, wax model. You’ll be able to try the wax on and make any last minute changes, if necessary.

Step 4 Casting Your Jewelry

After you’ve approved the wax model, it’s time for casting. We have our master jeweler use the wax model to cast your design using the metal of your choosing (gold, platinum, silver, etc…).

Step 5 Finishing the Piece

After the mold has been cast, our master jeweler will begin the process of polishing the piece, setting the stones, and making sure that your piece of jewelry is perfect!

Step 6 Showing it Off

Now that your piece of jewelry is completed, it’s time for you to show off your one-of-a-kind piece to all of your friends and family!

Custom Jewelry Gallery

Your Widget Header Text Goes Here Lorem ipsum dolor sit amet consectetur adipiscing elit. Lapis Lazuli Template , Your Widget Header Text Goes Here Lorem ipsum dolor sit amet consectetur adipiscing elit. Lapis Lazuli Template ,

Start a Custom Project Today!

We are proud to have been voted the #1 jewelry store in The Woodlands for the past 8 years.

Start a Project

My Bag